Authorize.net

Overview
Authorize.net helps make it simple to accept electronic and credit card payments in person, online or over the phone. They accept a variety of payment methods and have advanced fraud protection, that could protect your business. Primarily, this gateway is used for ACH and credit card processing and they serve businesses located in 3 countries, using 12 different currencies.
One of the many great things about ChargeOvers Authorize.net integration is how easy it is to migrate current customer payment tokens into ChargeOver. This means there’s no need to recollect customer payment data!
How to connect
Steps to connect your gateway and ChargeOver are below!
In Authorize.net
- Log into your Merchant Interface
- Click
Account from the main toolbar - Click Settings in the main left side menu
- Click
API Credentials and Keys in the Security Settings section - You will see your API Login ID at the center of the page
- Authorize.net may prompt you to create a new transaction key. If so, go ahead and do that and enter your "Secret Answer"
- Click
Submit - The Transaction Key for your account is displayed on a confirmation page
Now, it's time to go back to ChargeOver and get the two connected!
In ChargeOver
- Go to your Settings and select
Payment Processing - Then select
Add or Configure a Payment Method or Merchant Account - Search
Authorize.net or find it in the listed options - Enter in your API Login ID and Transaction Key
- Click
Save Settings when finished
Pending transactions
To get the best experience with Authorize.net's advanced fraud detection, you need to add a Signature Key to your account. This will allow you to keep your ChargeOver transactions up to date as soon as they are settled in Authorize.net.
In Authorize.net
- Log into your Merchant Interface
- Click
Account from the main toolbar - Click Settings in the main left side menu
- Click
API Credentials and Keys in the Security Settings section - Click New Signature Key
- Click
Submit
Now, it's time to go back to ChargeOver and add your Signature Key!
In ChargeOver
- Go to your Settings and select
Payment Processing - Then select
Add or Configure a Payment Method or Merchant Account - Search
Authorize.net or find it in the listed options - Enter in your Signature Key
- Click
Save Settings when finished
Common questions
Does the integration between Authorize.net and ChargeOver support…
| Feature | Supported? |
|---|---|
| Dynamic Statement Descriptors | ✖️ |
| Tokenized Payments | ✅ |
| Credit Card Payments | ✅ |
| ACH (USA Only) Payments | ✅ |
| EFT (CAD Only) Payments | ✖️ |
| ACH (AUS Only) Payments | ✖️ |
| Credit Card Refunds | ✅ |
| ACH Refunds | ✅ |
Can Authorize.net send multiple ACH or EFT payments into a single settlement batch?
✅ Yes!
Can Authorize.net report ACH payment status' to ChargeOver?
✅ Yes!
Does Authorize.net support same-day refunds?
For credit cards, Authorize.net supports same-day full refunds, but not same-day, partial refunds.
If you want to refund the whole amount, you can do that the same day. If you want to refund a partial amount, you have to wait until the payment settles.
For for ACH, Authorize.net does not support same-day refunds at all.
Supported currencies
ChargeOver accepts these currencies with Authorize.net.
CAD and USD.
Supported merchants countries
These are based on where your business is located.
Canada and United States.
Keep in mind
Any limitations Authorize.net may have with ChargeOver are listed here.
Email receipts sent by Authorize.net
By default, Authorize.net payment gateways sent their own email receipts to your customers. This may be confusing to your customers if they are also receiving email receipts from ChargeOver.
- Log in to your Authorize.net account
- Choose the Account menu option
- Click the Email Receipt link
- To turn off receipts, uncheck the checkbox labeled Email transaction receipt to customer (if email address is provided)
ChargeOver will, by default, send email receipts to your customers. These email templates are far more customizable than the Authorize.net receipts.
Held for review transactions
You might be seeing some transactions that are marked as pending. Below is what a pending transaction looks like in ChargeOver.
![]()
Why is this on a transaction?
Authorize.net is either holding a transaction for fraud review or another customer service review process, or something is misconfigured.
What should I do?
Contact Authorize.net to ask why they are holding your transactions. If your account does not have a Signature Key configured, Follow These Steps.
What happens when Authorize.net processes the pending transactions?
You need to Configure a Signature Key in your gateway settings to ensure your transactions stay up-to-date in ChargeOver.
Once this is done, your transactions will automatically update to a paid or declined state once they are settled by Authorize.net.
New Authorize.net accounts by default come with a very low rate limit. If you do recurring payments, you will almost certainly bump into this and Authorize.net will mark your payments as Held for review. To prevent this, you should ask Authorize.net to turn off the rate limits in your account or you should whitelist ChargeOver's IP address.
Keep in mind
A "held" payment is essentially treated as a successful payment by ChargeOver, until Authorize.net tells us otherwise.
This is because if we treated the payment as failed, multiple things could happen:
-
Invoice would be left open and unpaid, which would allow the customer to be able to pay it again and potentially resulting in a double payment being made
-
Invoice would be left open and unpaid, potentially allowing the invoice to go overdue and then be picked up by the dunning process, which could also reult in a double payment being made
-
The end-customer could see this that the invoice was open in the portal, and might try to pay again or be confused, because to them, it looks like they paid it (and they might even see the authorization on their credit card statement)
Export CIM or Authorize.net payment profiles to ChargeOver
Do you need to export your payment profiles from Authorize.net to your ChargeOver account? The steps below will show you how to export your customer and payment method data from Authorize.net to ChargeOver.
First, login to your Authorize.net merchant account. Once you are logged in you can do the following.
Steps
-
Click
Tools 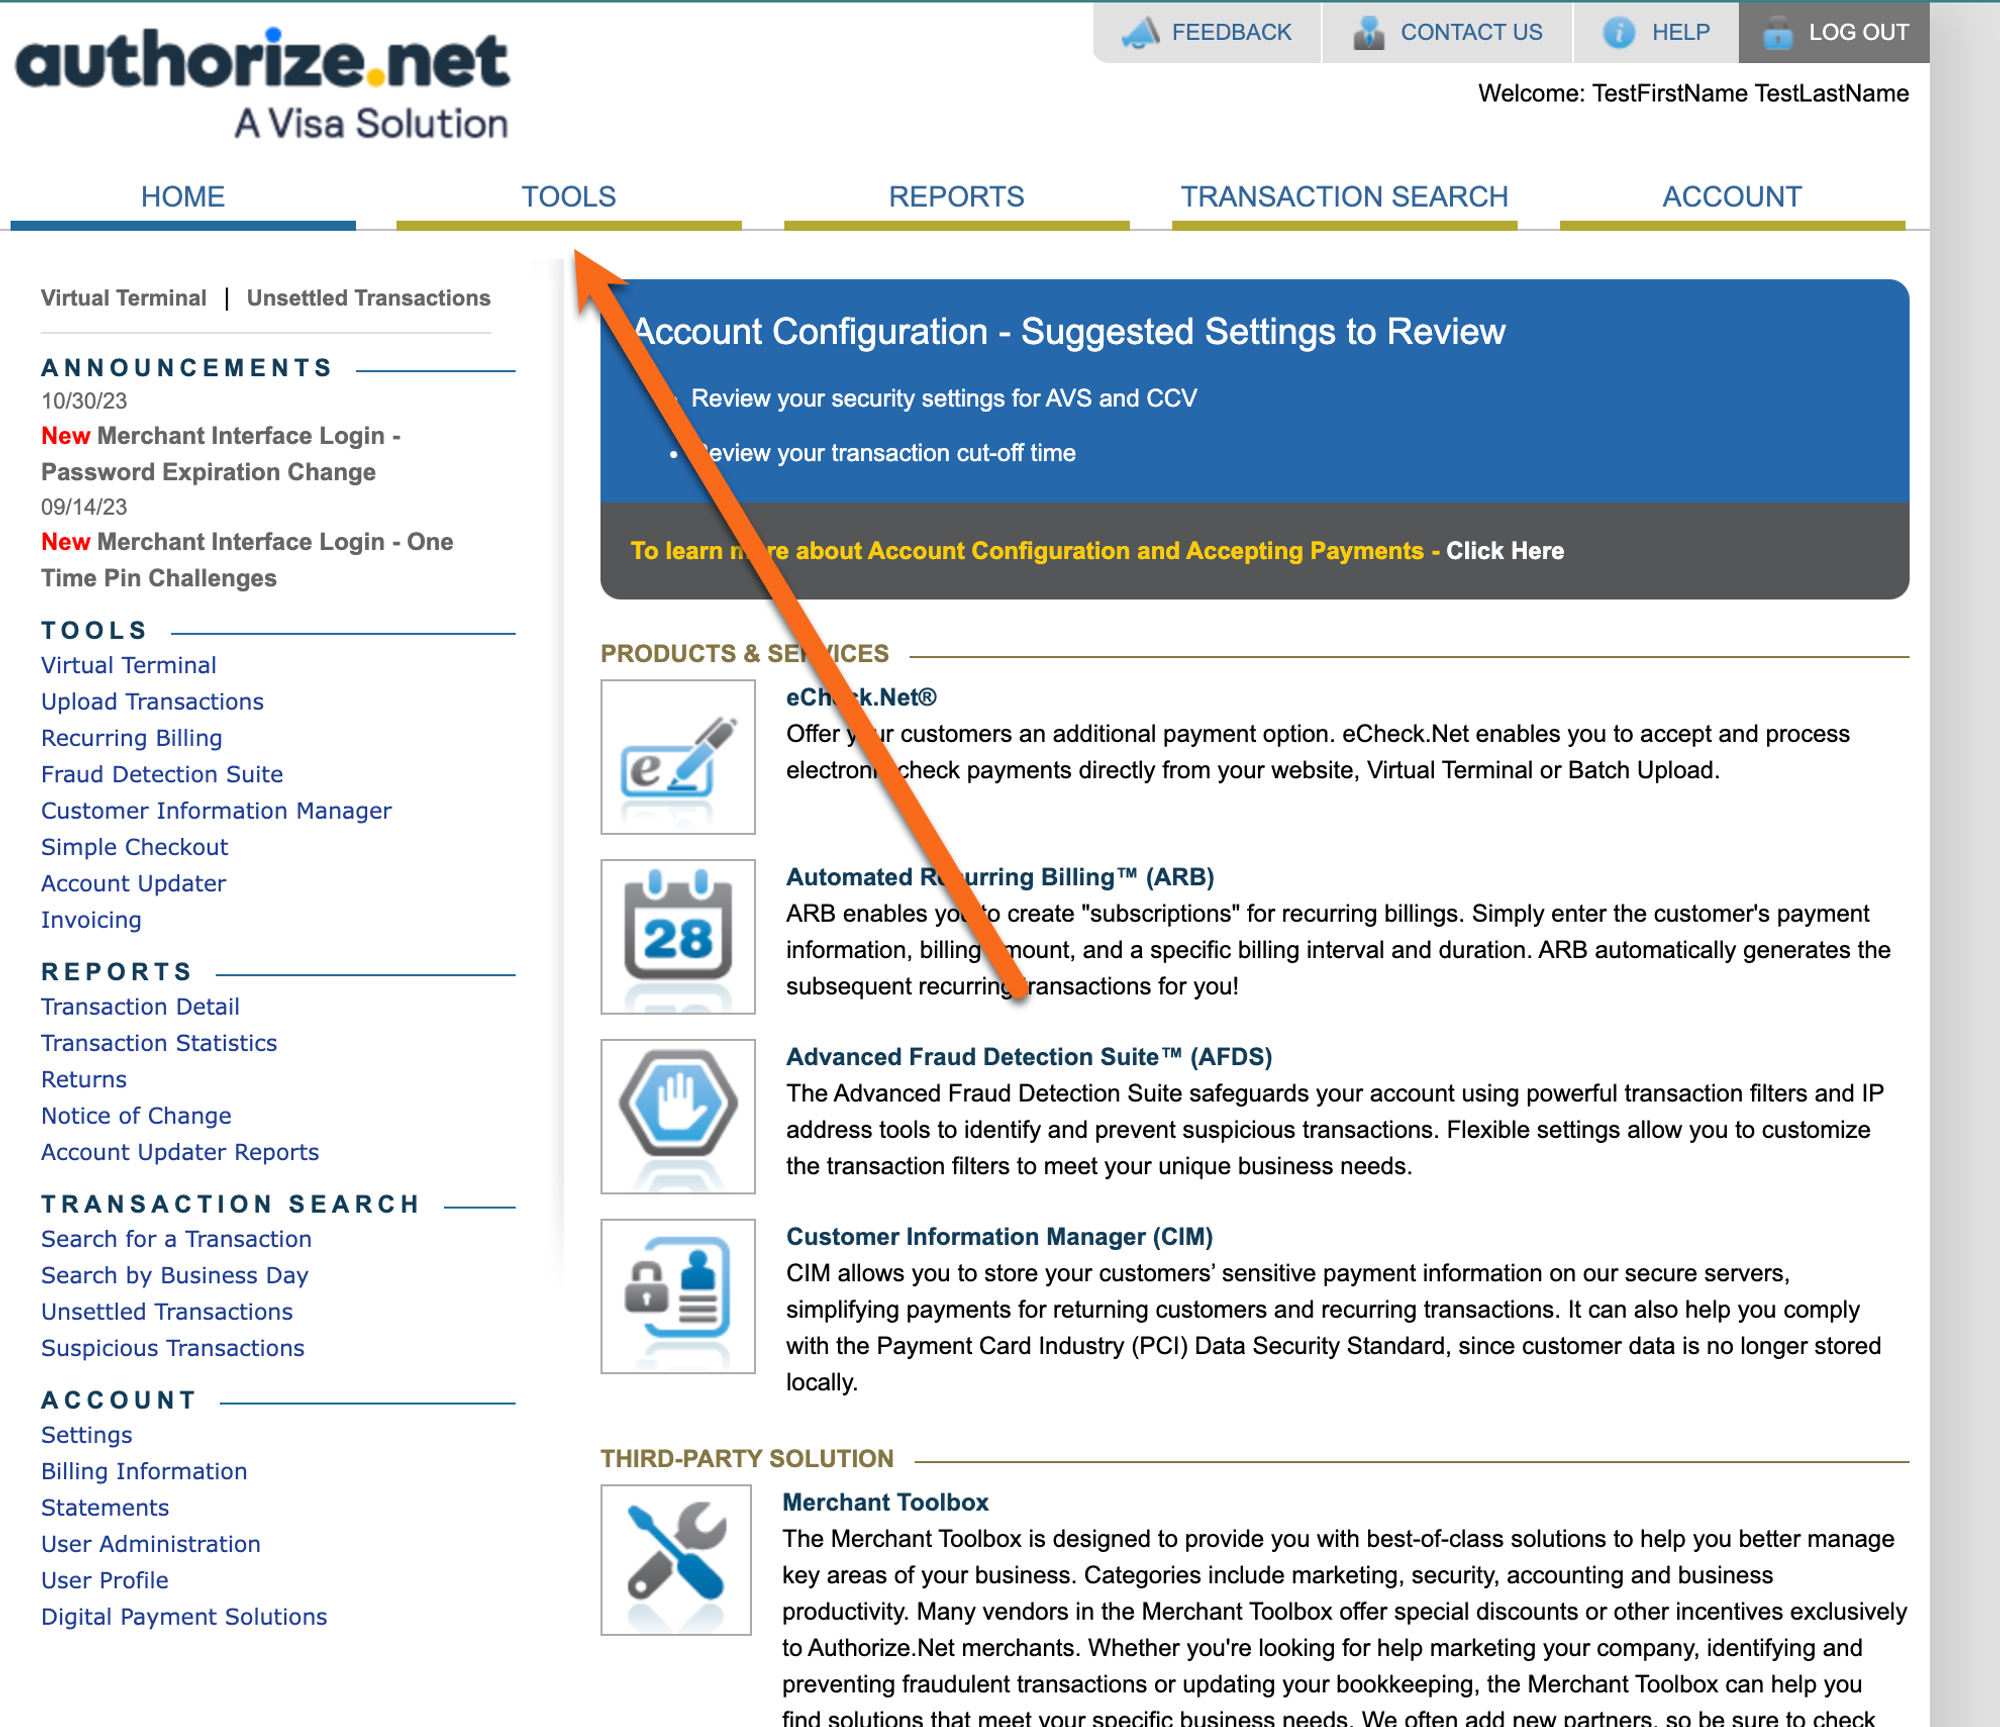
-
Click
Customer Information Manager from the menu on the left hand side of the page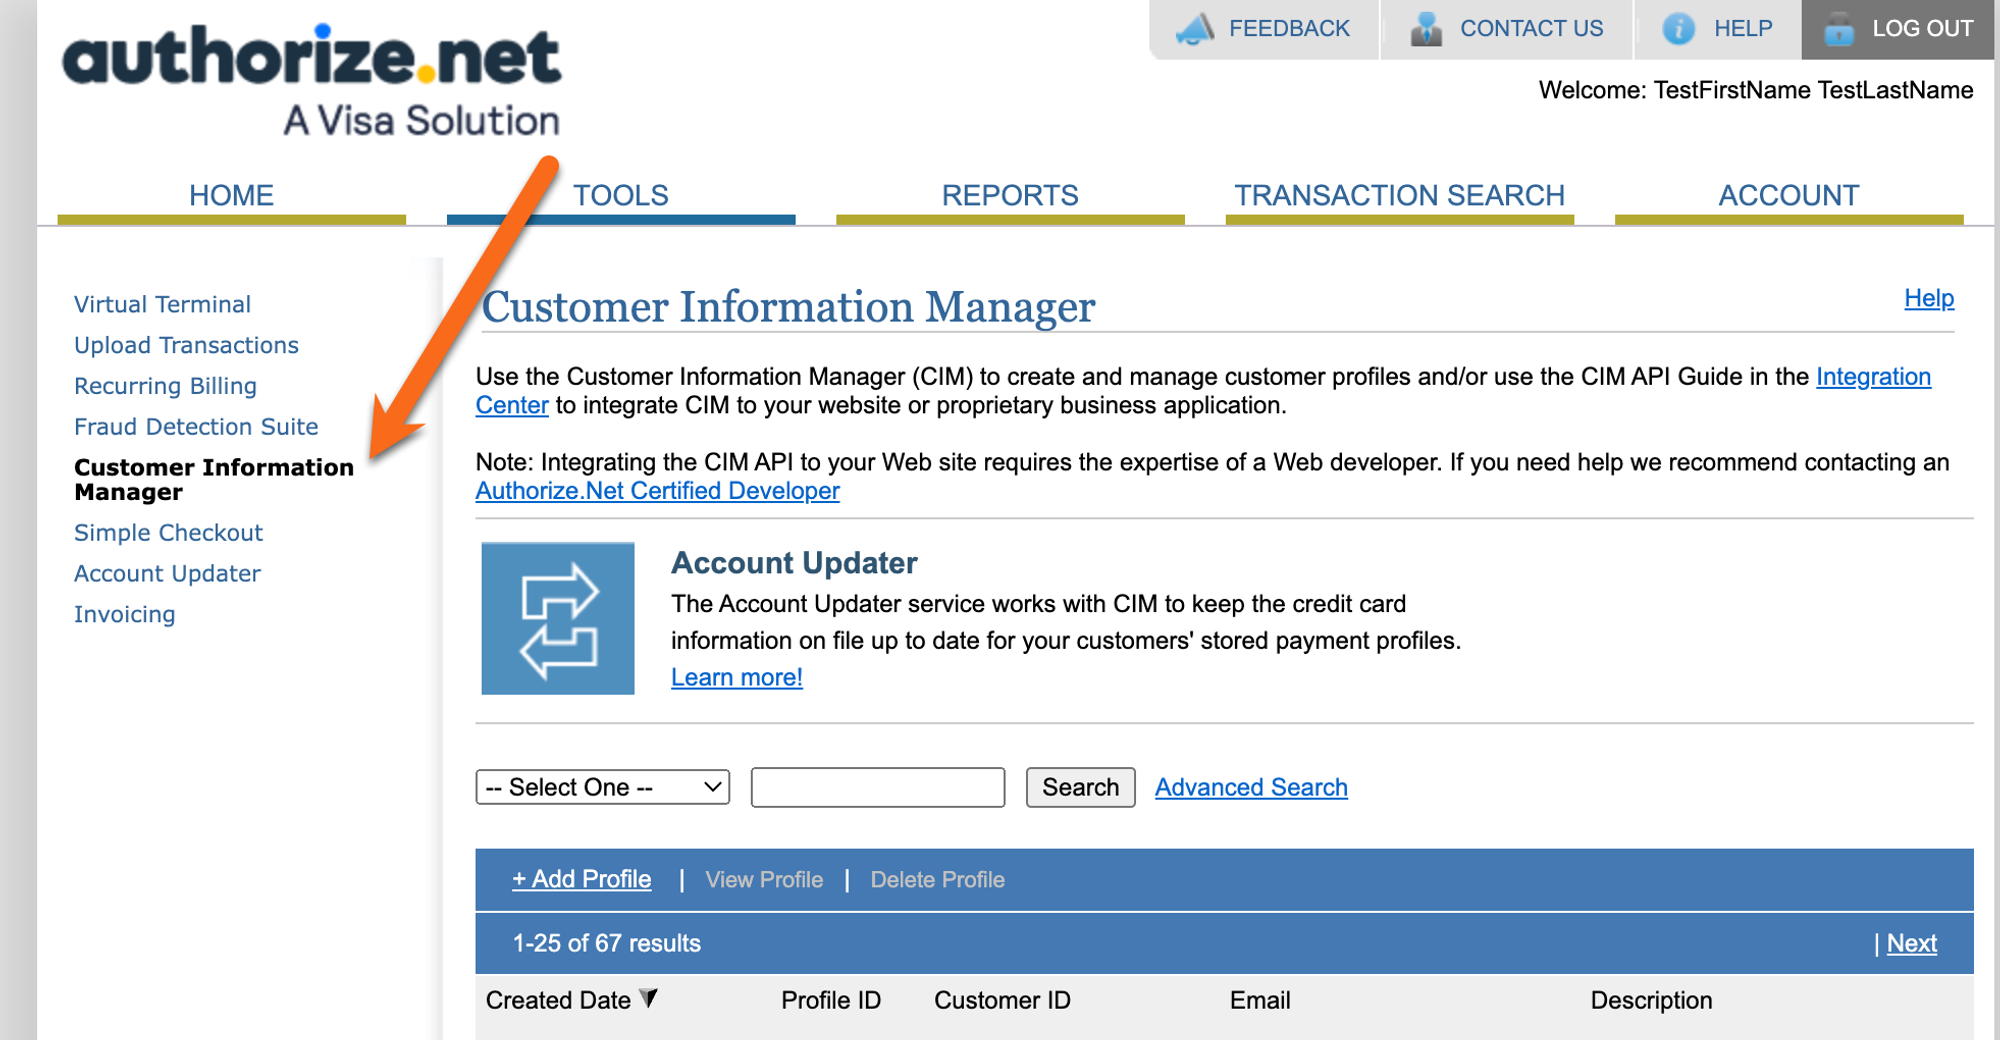
-
Click
Advanced Search 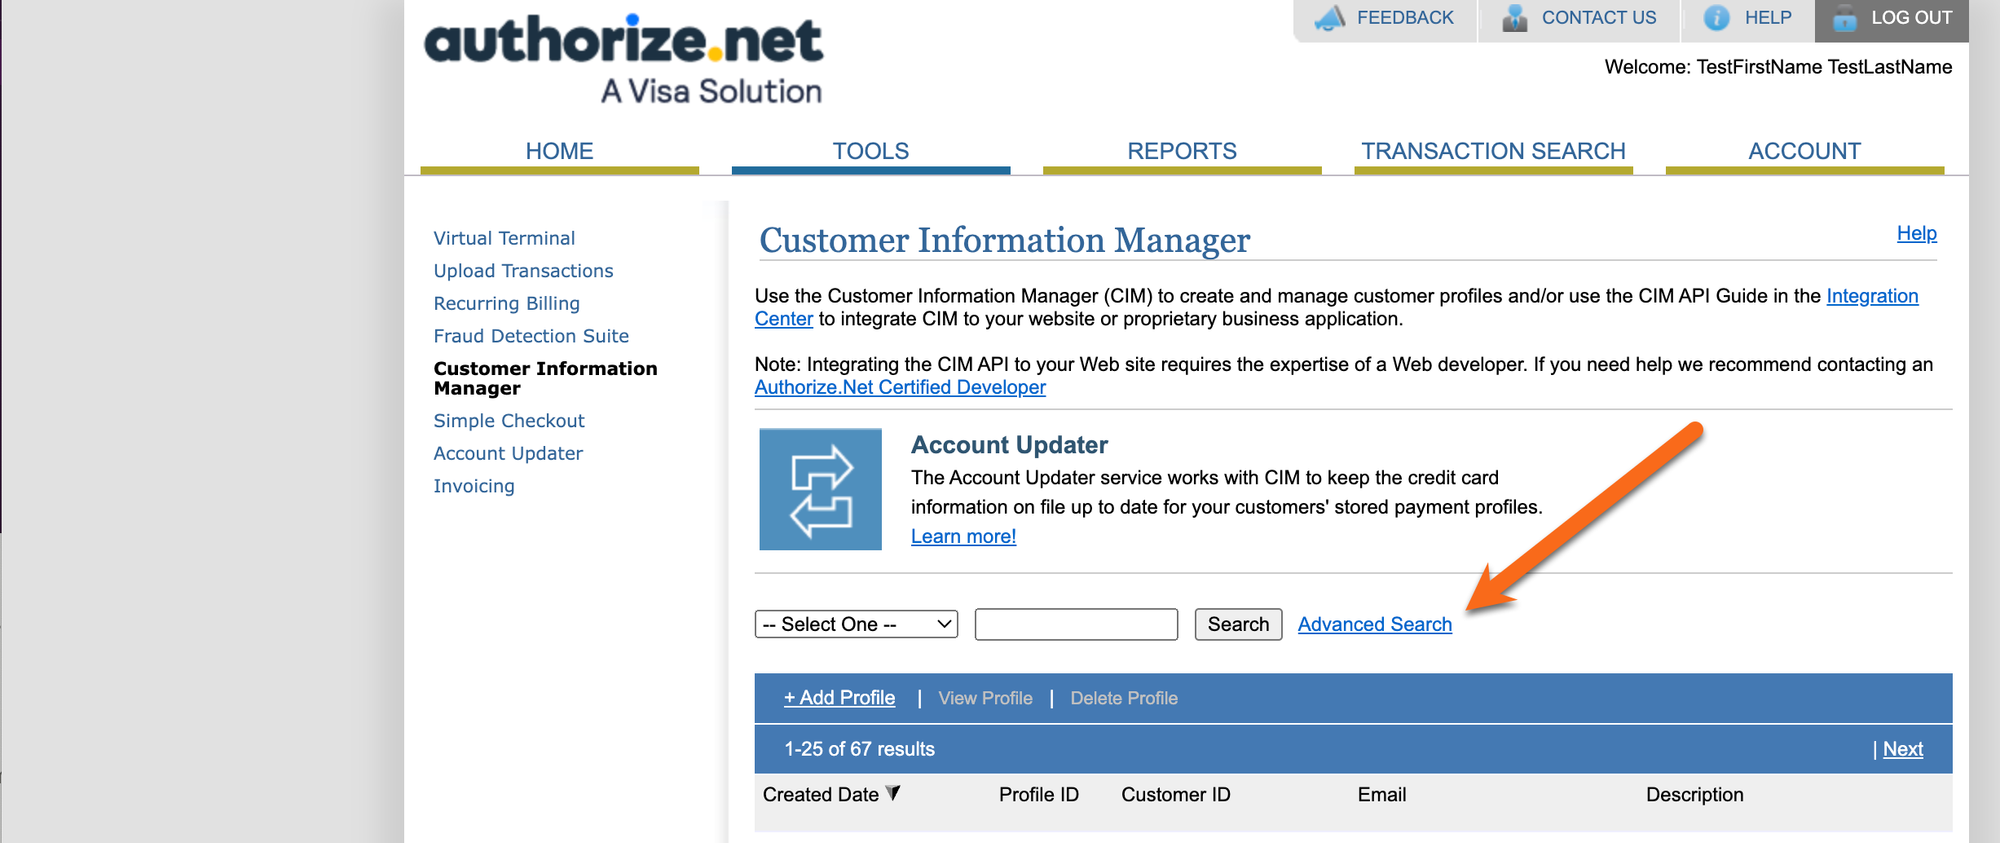
-
Enter any relevant search criteria and click
Search 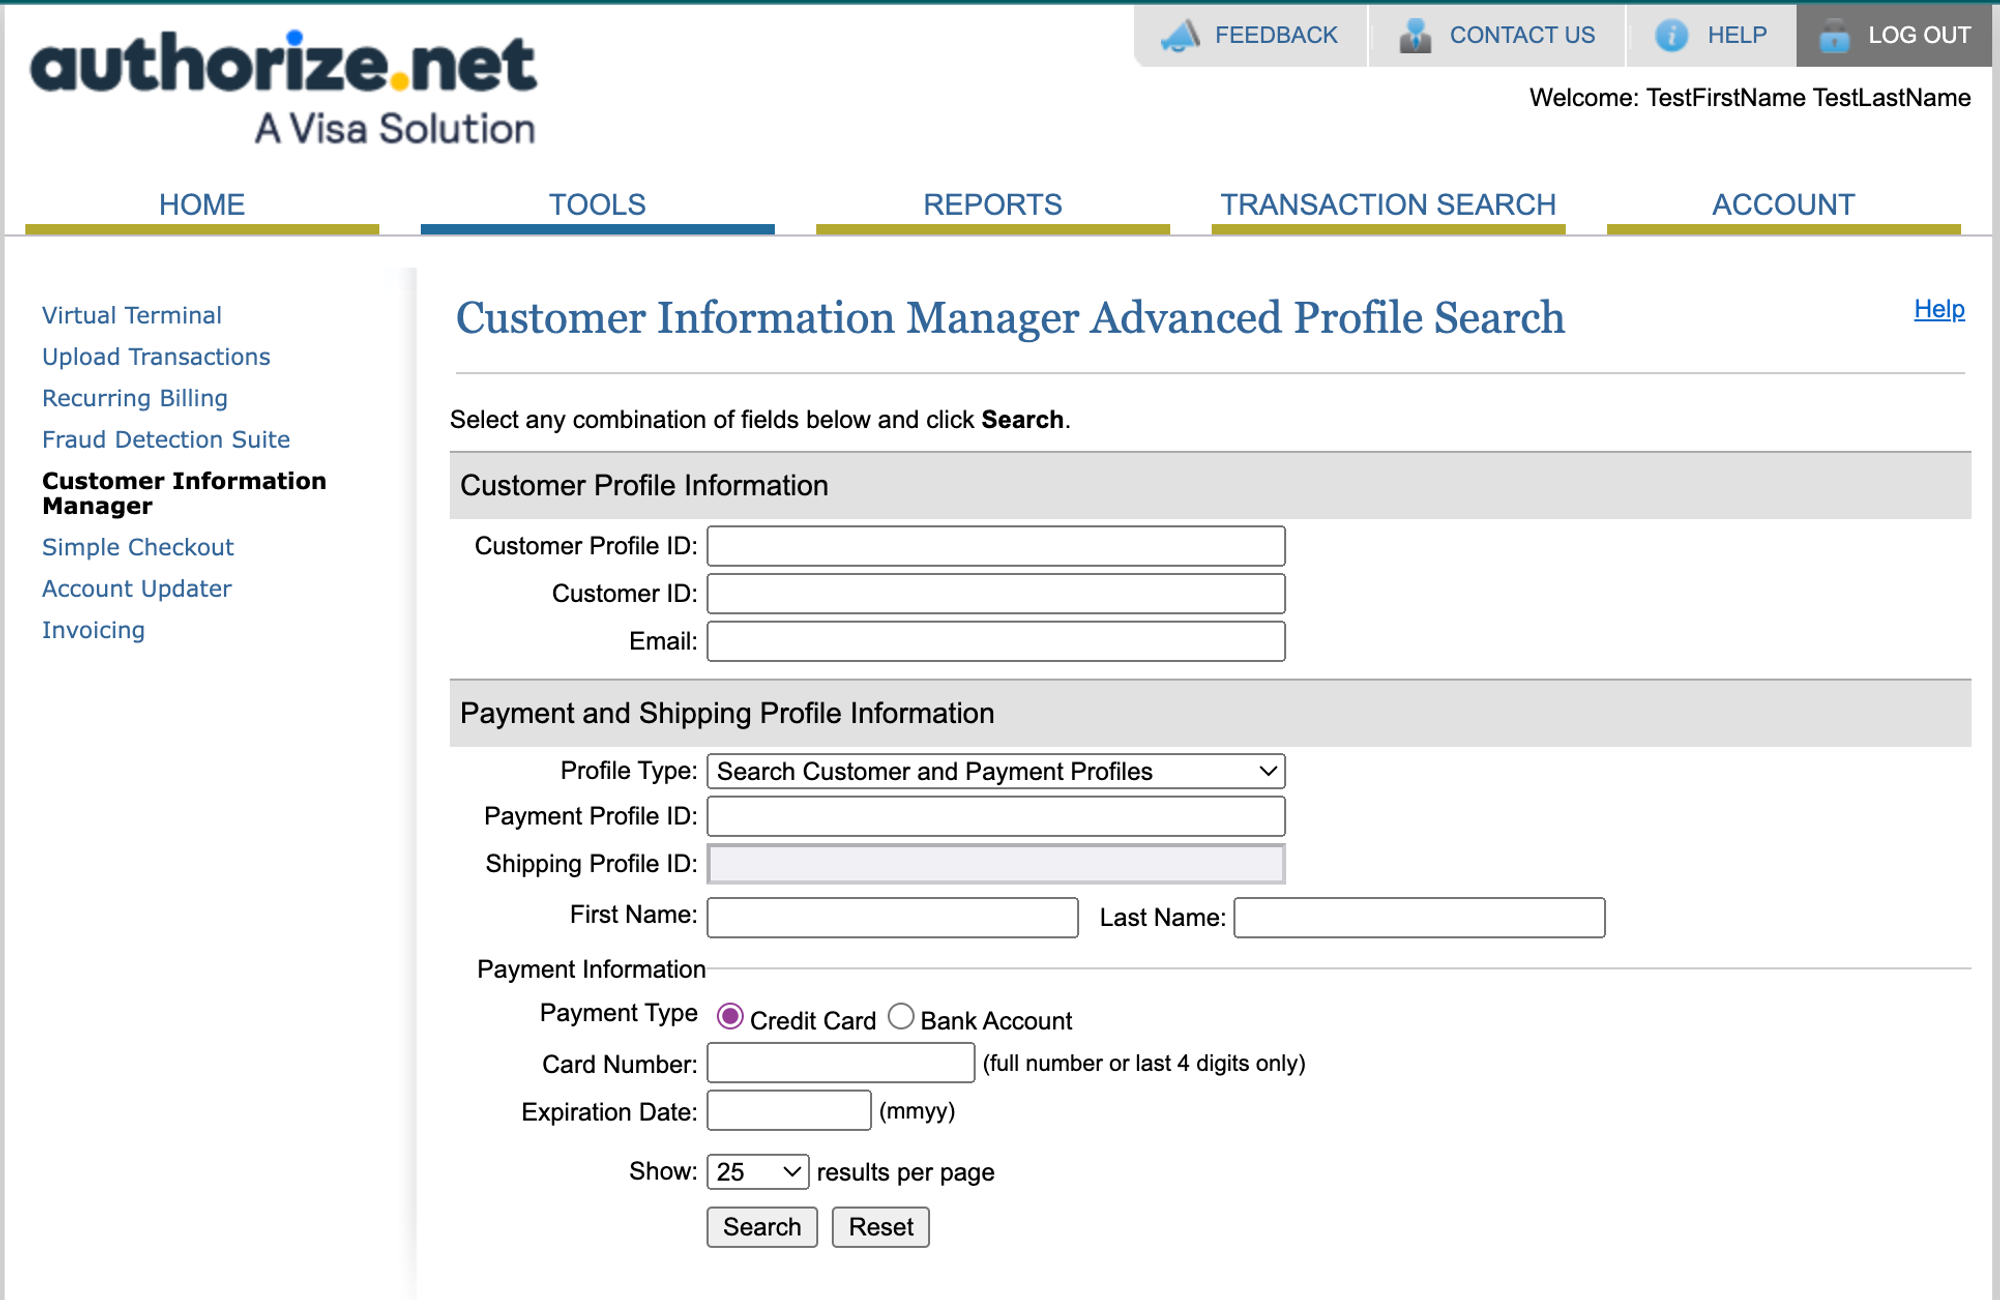
-
A list of customer profiles will be generated. Next, click
Download To File 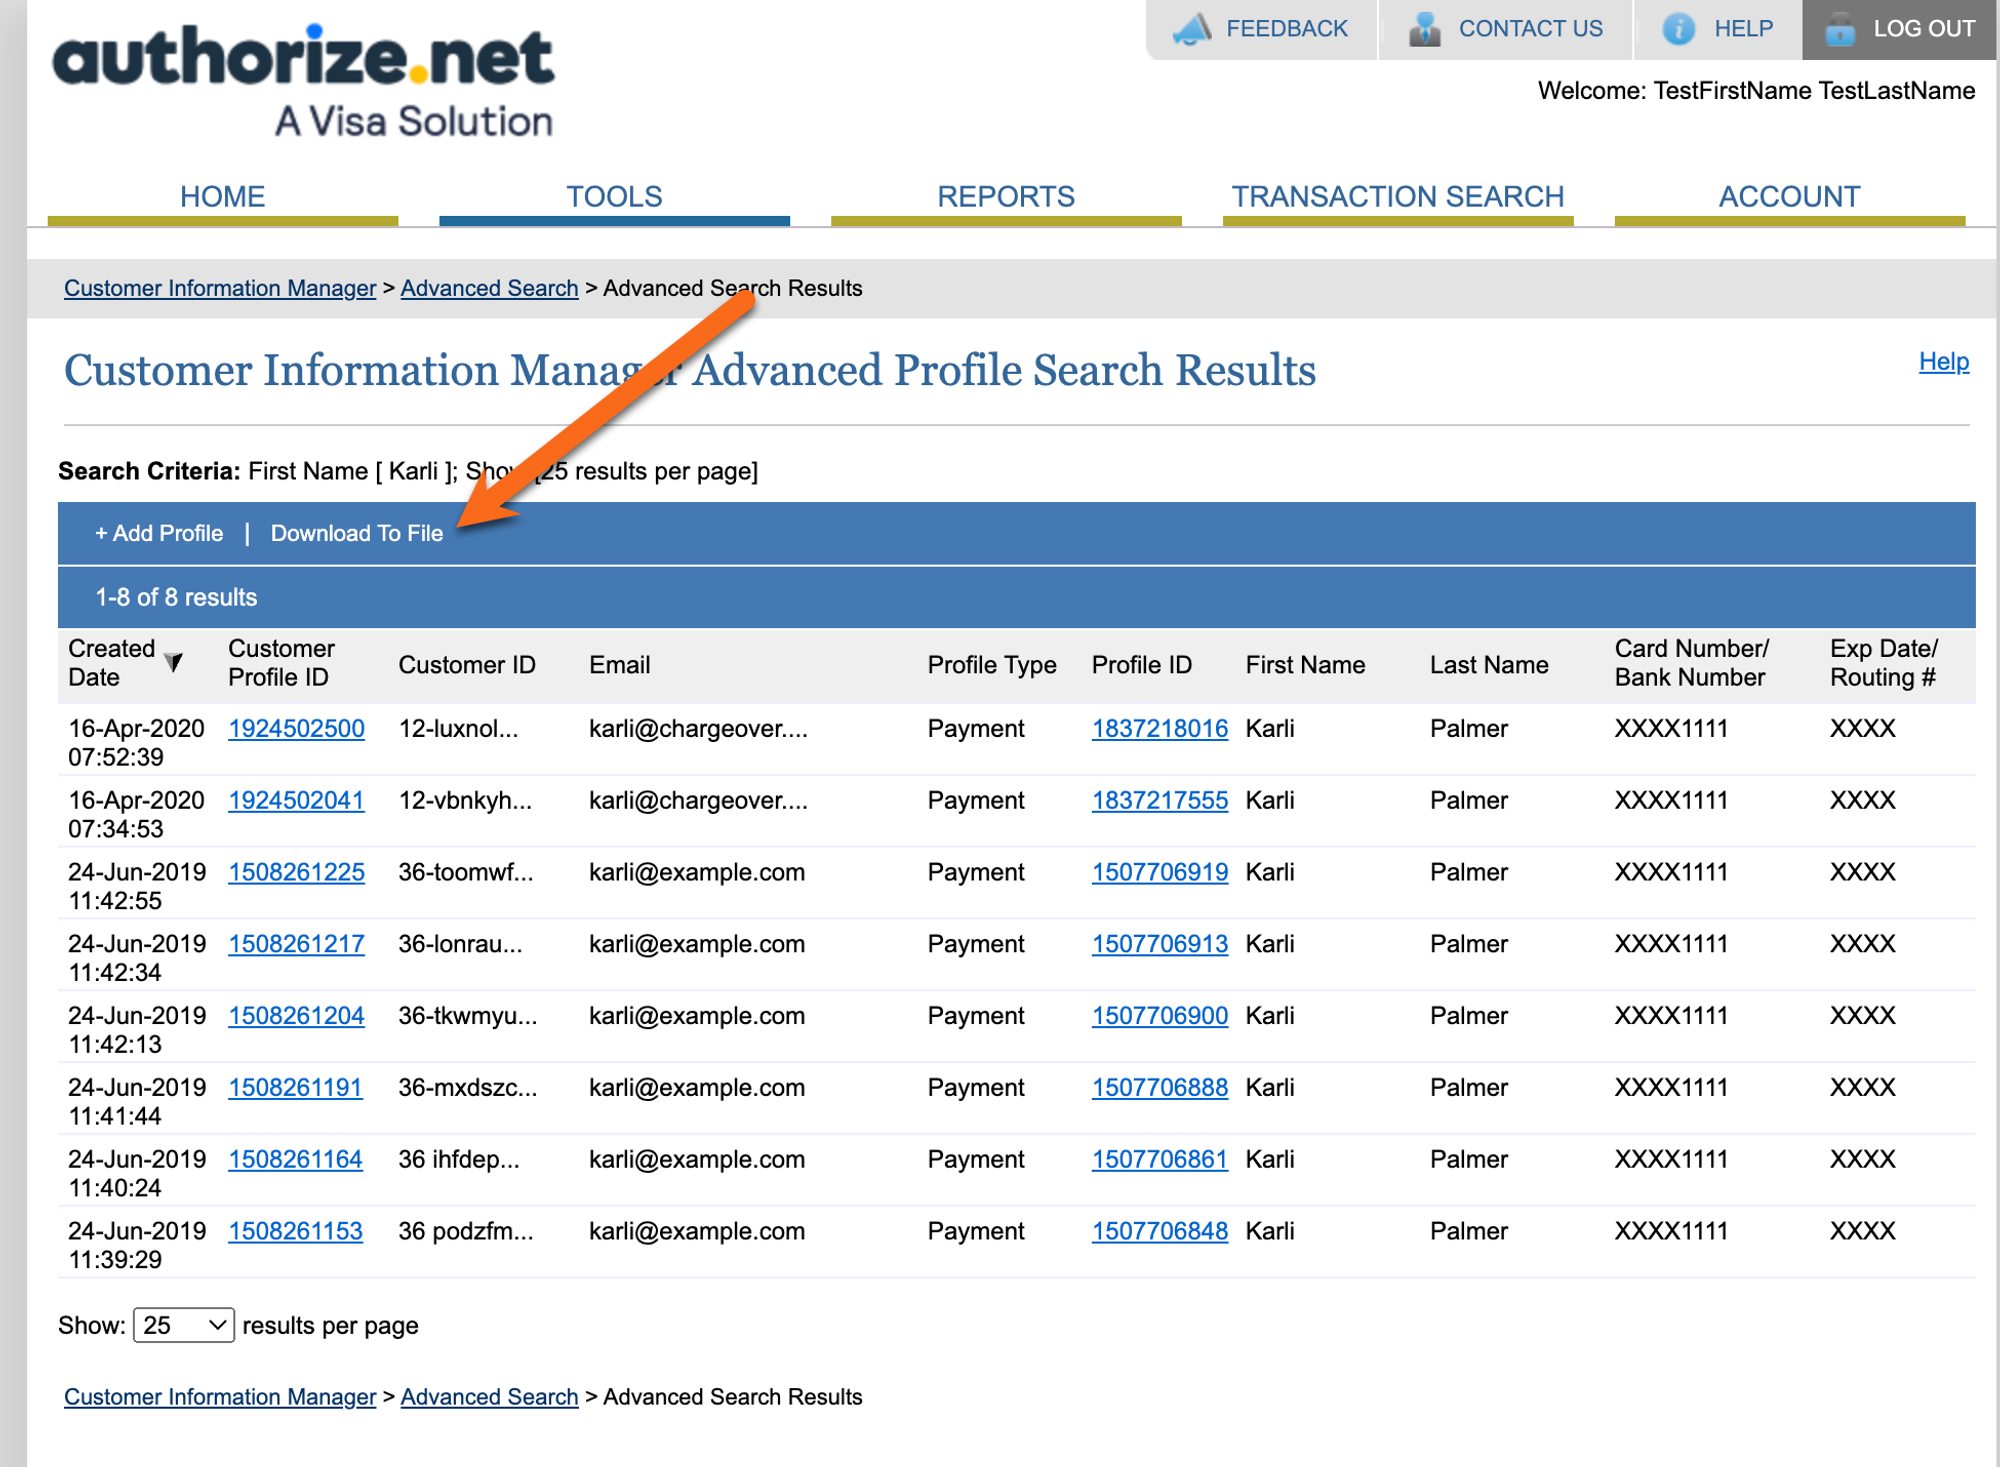
-
Click
Download File when the pop-up window appears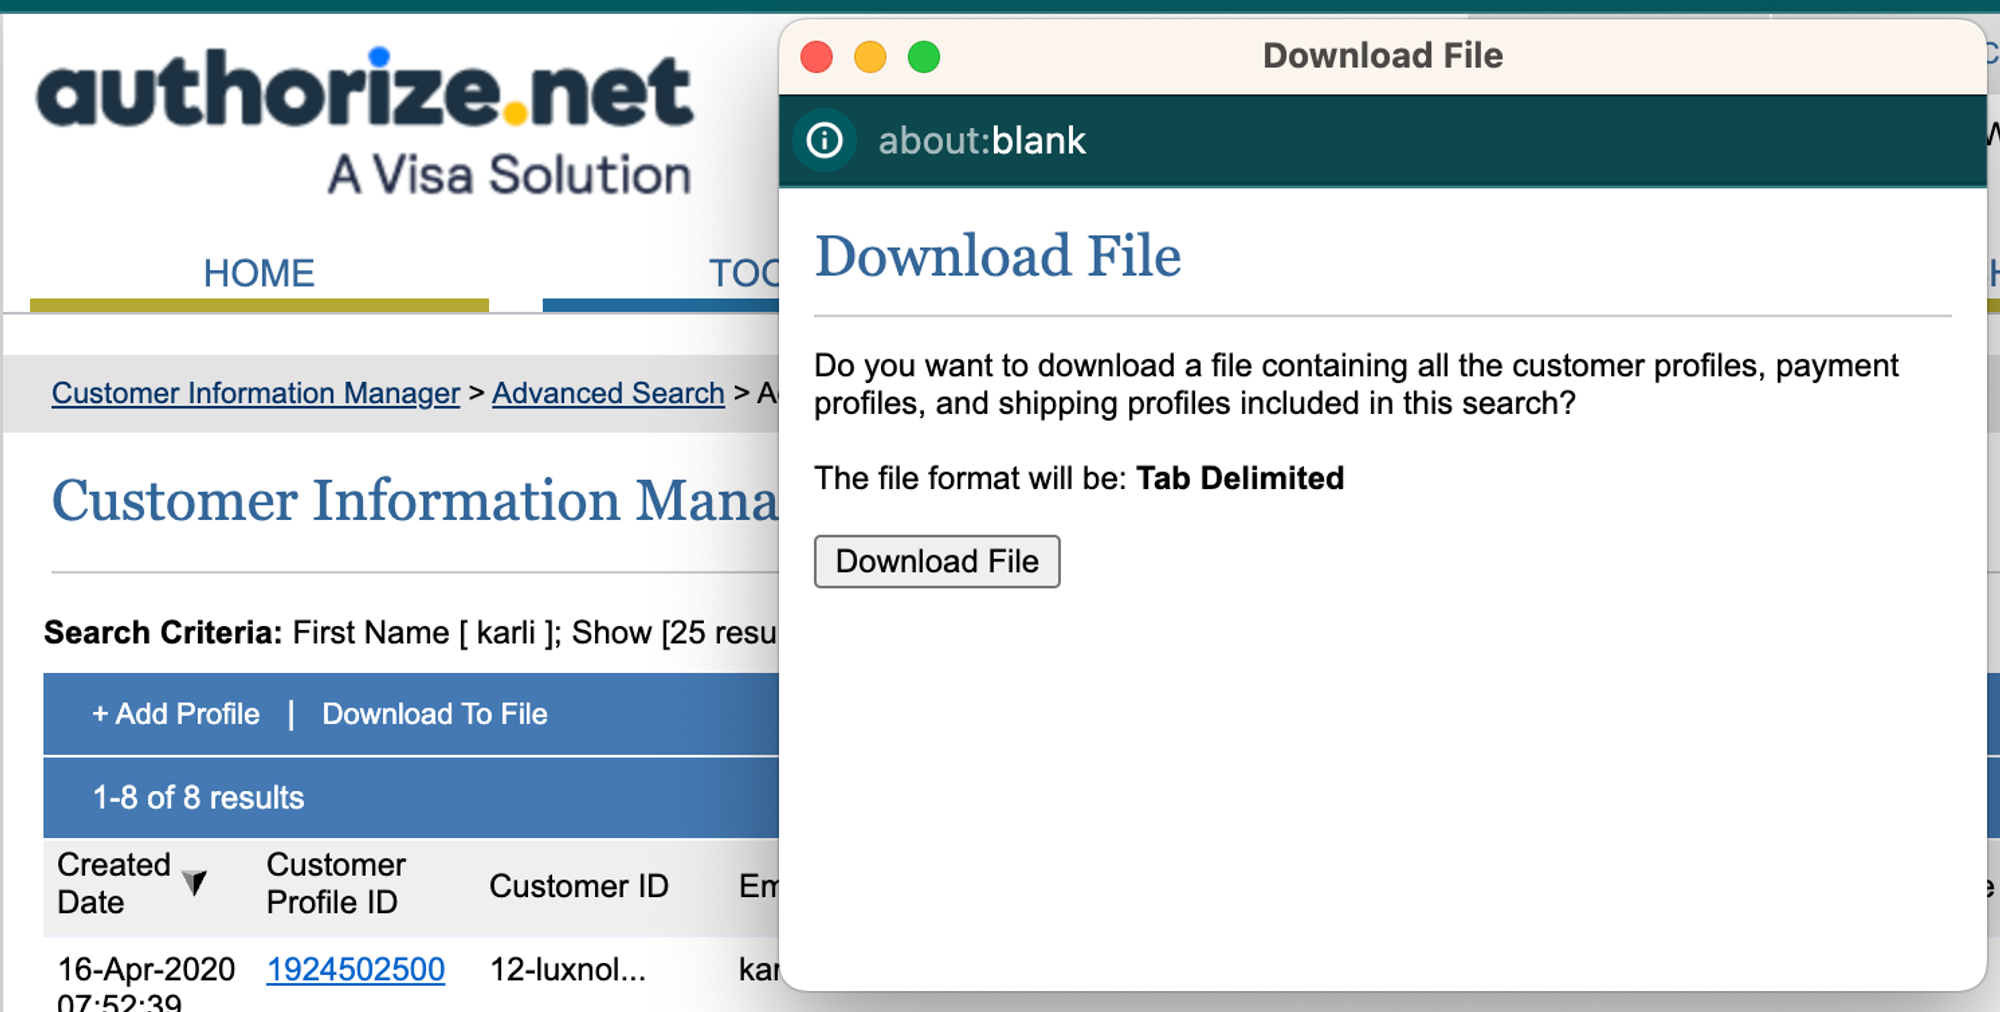
-
Save the file
Now you have the data from Authorize.net to import into your ChargeOver account!
To get your data imported, contact us and attach the file that you downloaded from Authorize.net to your support ticket or email.
Does ChargeOver support Authorize.net AIM emulation URLs?
If you are using a payment processor which has an Authorize.net AIM emulation mode, ChargeOver can work with this and support your gateway.
Please contact us for assistance setting the Emulation Mode URL.
Common decline messages
If you are unsure what an Authorize.net decline message means or what to do next, the most common error messages you might encounter are explained below.
| Error Message | What Authorize.net is Trying to Tell You | Next Steps |
|---|---|---|
| ERR_DECLINE | Authorize.net told ChargeOver the payment was declined. | Contact the cardholder and ask them for another form of payment, or have the cardholder contact their credit card issuer. |
| ERR_CREDENTIALS | Authorize.net told ChargeOver that your authentication credentials for Forte are incorrect. | You should contact Authorize.net and fix the credentials you use to connect to them. |
| ERR_EXPIRED | Authorize.net told ChargeOver the credit card has expired. | You should contact the customer and ask them to provide a new payment method. |
| ERR_CVV | Authorize.net told ChargeOver the credit card was declined due to an incorrect CVV/CVC security code. | Your customer should provide a correct CVV/CVC security code, or provide a new payment method. |
| ERR_HELD | Authorize.net told ChargeOver this transaction has been held for review. | Contact Authorize.net for more details on the held transaction. |
Troubleshooting connecting
Sometimes you will have typed in the wrong password or credentials when connecting your gateway to ChargeOver. This is an error message Authorize.net might throw when this occurs.
This error messages can either be found on the object, like the payment or refund, or the Authorize.net connection page in ChargeOver.
Error message
There was a problem connecting to Authorize.net. Are you sure that information is correct?
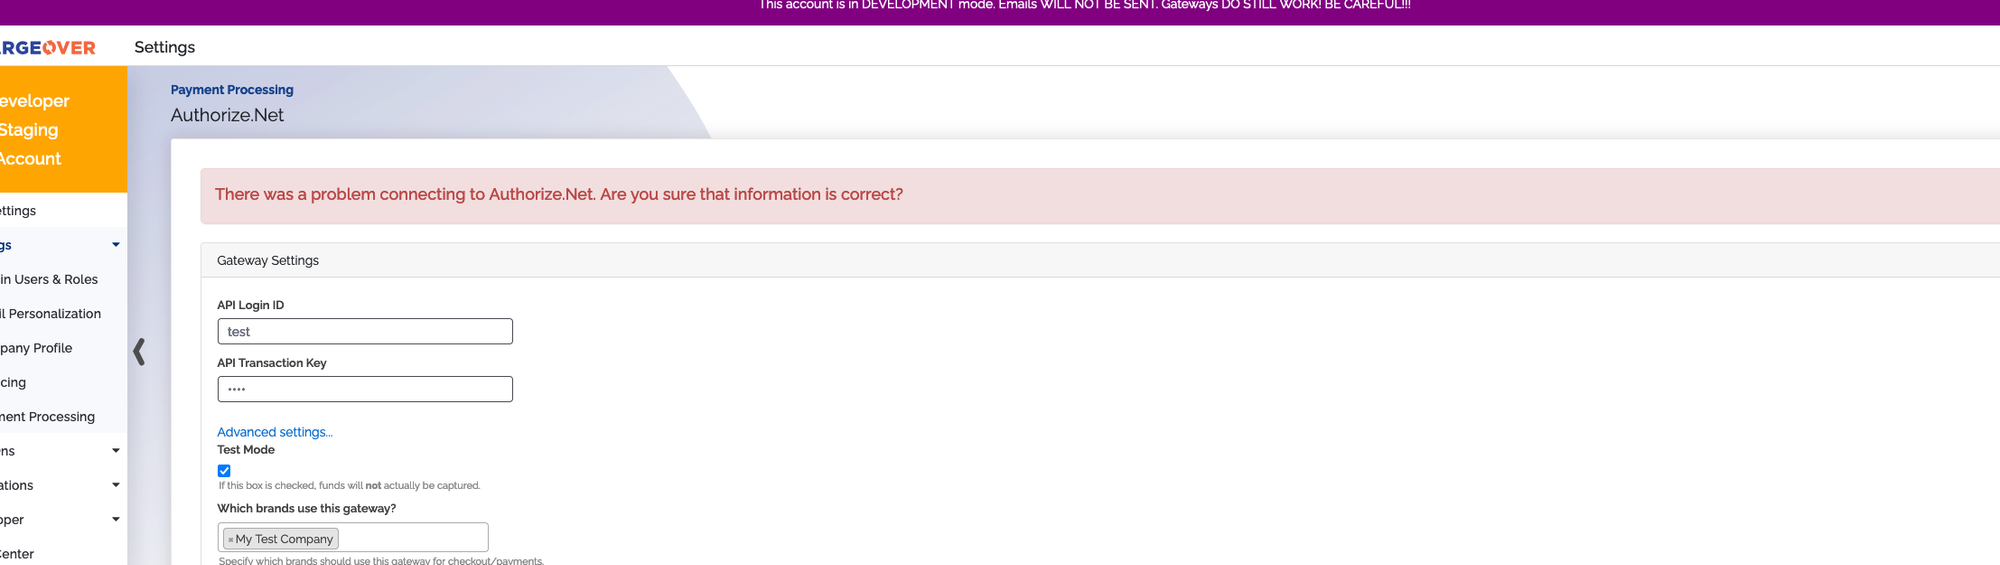
What Authorize.net is trying to tell you
Your API Login ID or API Passcode Key has been incorrectly entered into ChargeOver.
Next steps
Make sure that your information you entered is correct. As a reminder, do not use your email as the API Login ID.
Authorize.net support
If you need to contact the Authorize.net support team, you can use the information below!
Email Address - Fill out the form on their website to email support!
Phone Number - 1-888-323-4289