Brands
Overview
If your company operates under multiple business names, enable brands! By enabling brands in ChargeOver you can customize your ChargeOver invoices, currencies, language and even payment gateway mapping for your payments.
For example, you can set a different, address, phone number, and email to show up on invoices for each of your brands. You can also set a specific language, currency, and even separate invoice numbering systems for each brand.
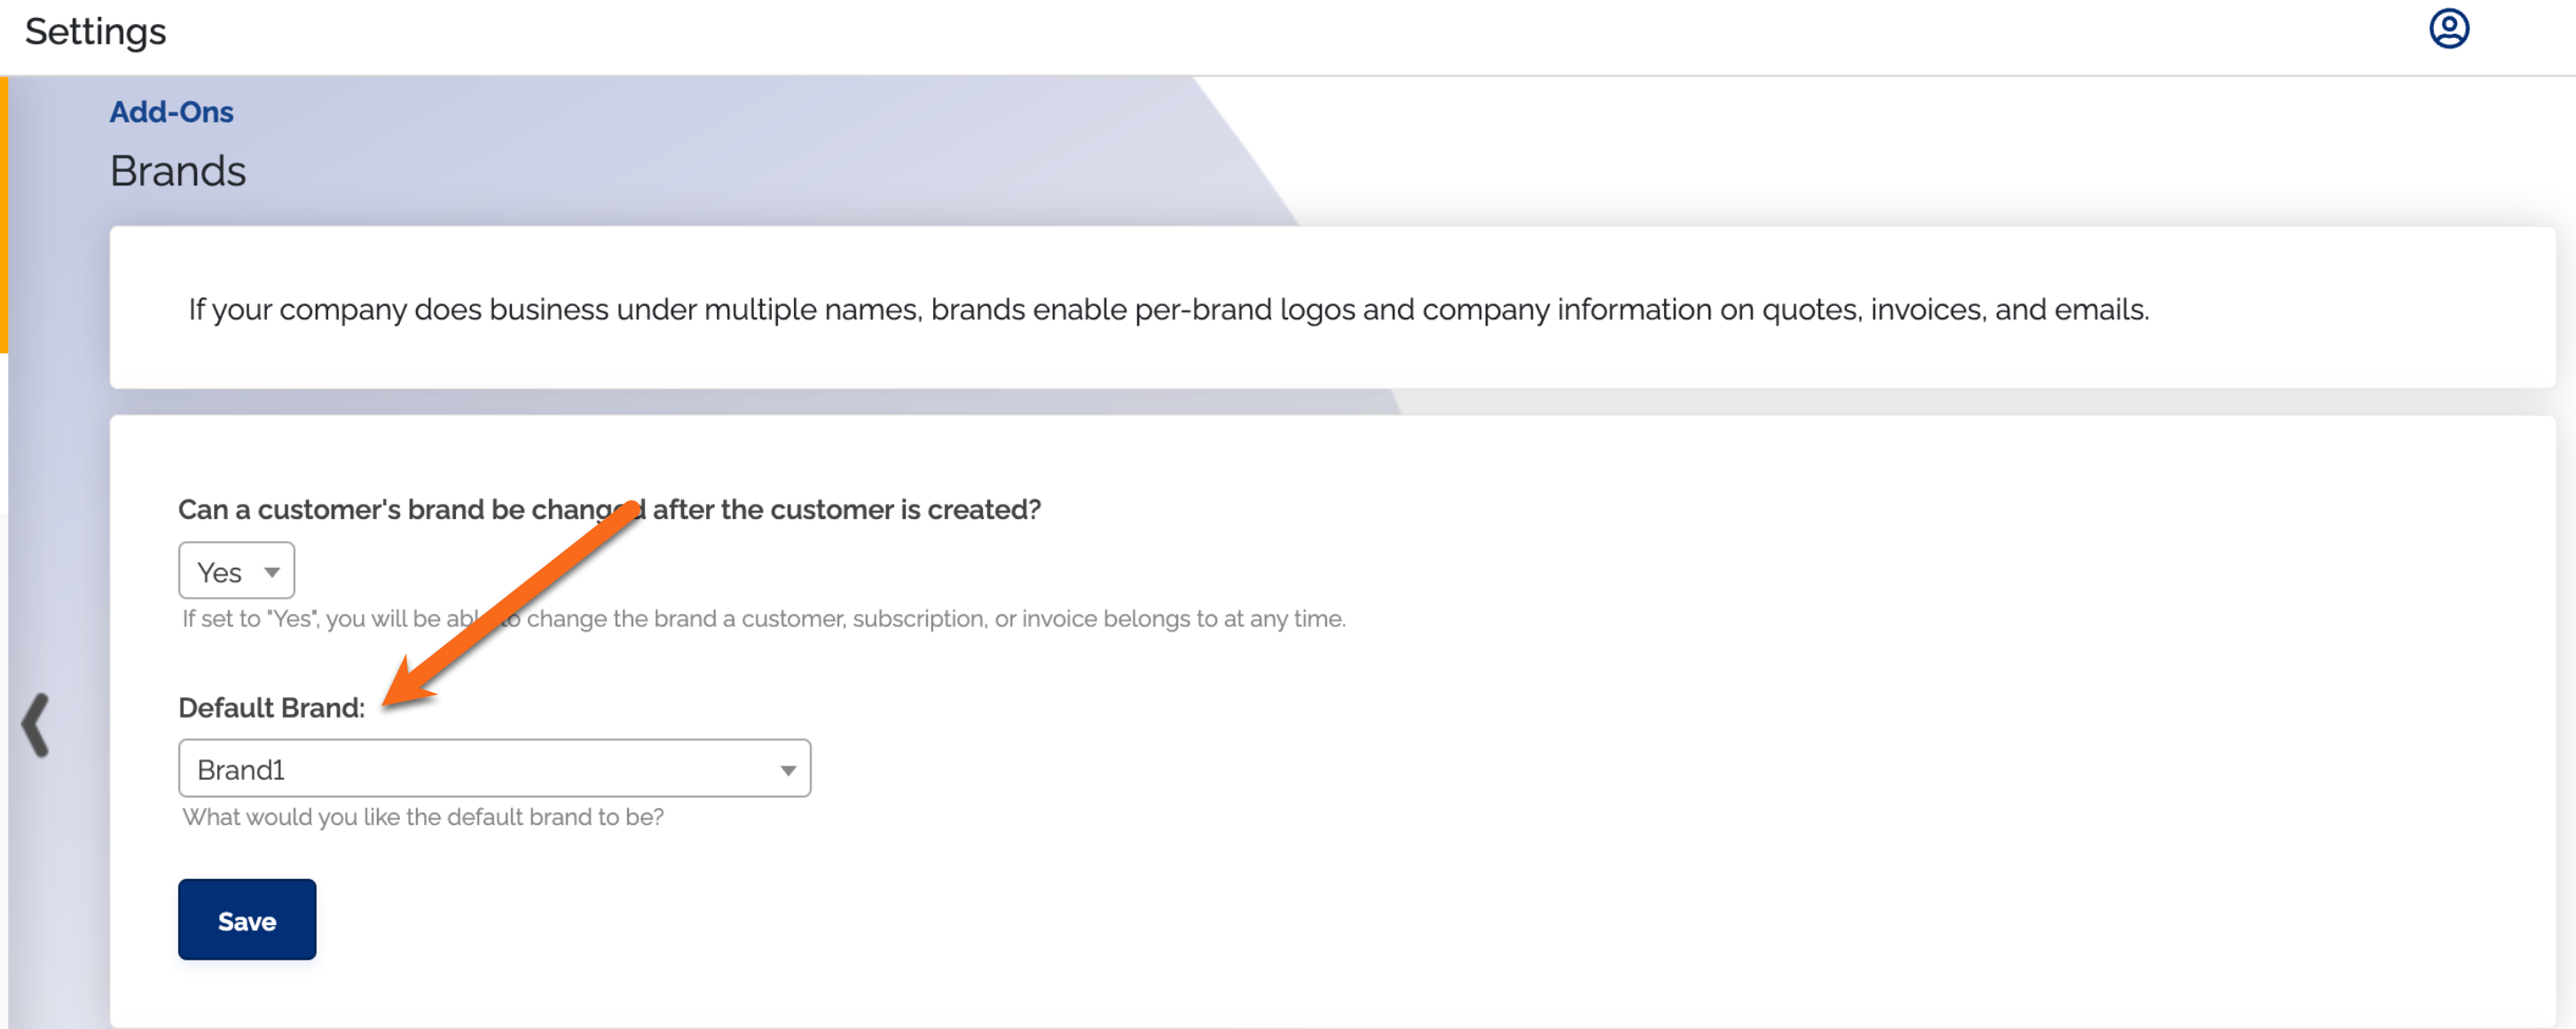
Enable brands
- Go to Settings then
Features thenMore Features - Search for "Brands" and click the
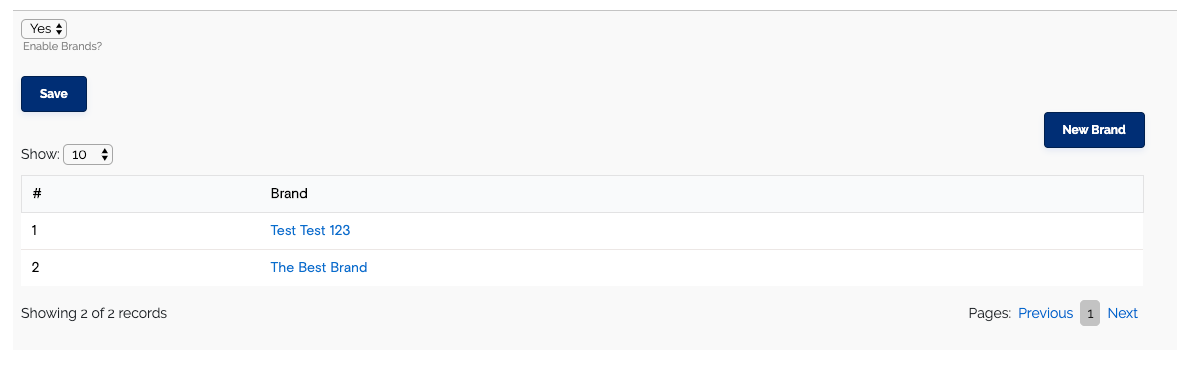
Get Started button - Set "Enable Brands?" to "Yes" and click
Save
Brands are now enabled in your ChargeOver account!
If you are creating multiple brands, make sure that you select a default brand for your account! That brand will automatically be assigned to customers when they are created unless specified otherwise.
Create a brand
-
Click the
New Brand button -
This will bring you to a page that allows you to fill out information for your brand, such as the invoice numbering system, currency, language, address, phone number, and email
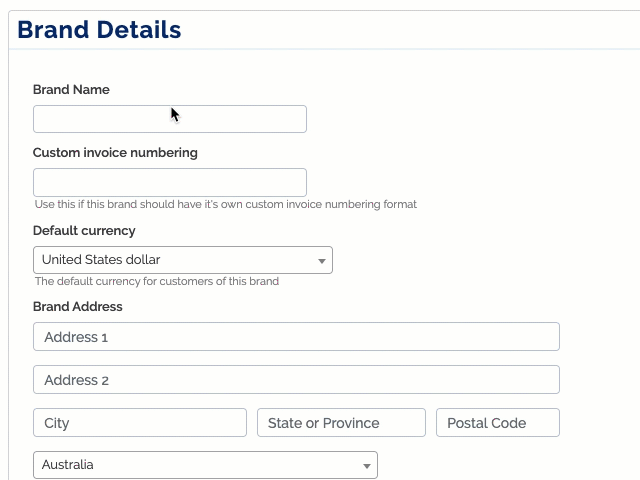
- Once you have filled out all the necessary information about your brand,
click
Save Changes
Edit a brand
- Click on the name of the brand in your list of brands
- Click the "Edit Brand" tab
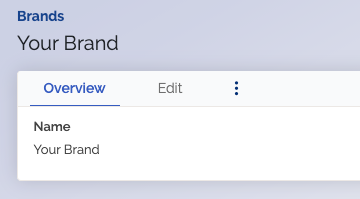
- Fill in the name, address, social media links, logo and more, all specific to the Brand you are creating
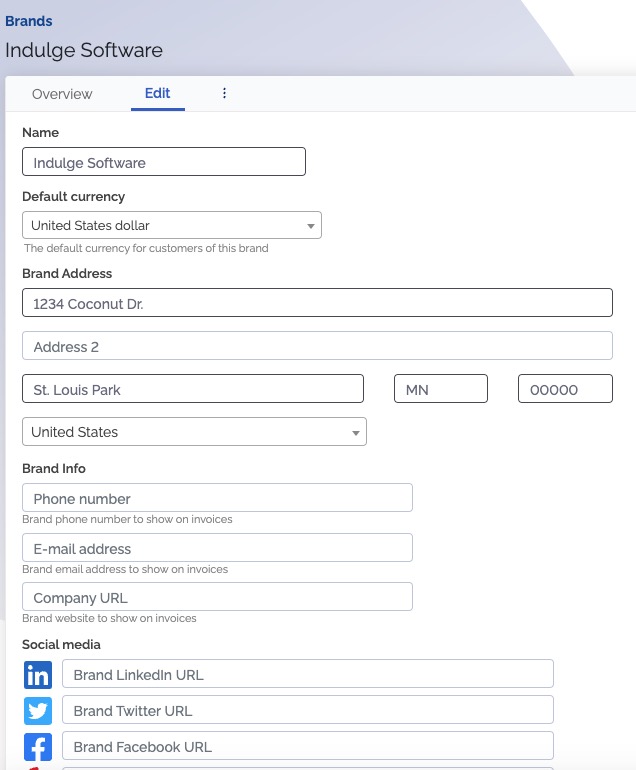
Save changes
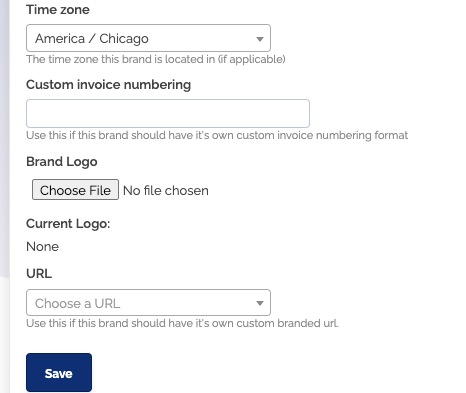
Brand logos
Each brand needs to have it's own logo if you want the logo to be customer facing. Logos show up in places like email templates, invoice pay links and the customer portal.
Missing logos: If you are not seeing your logo on a customer-facing page like a customer portal or an invoice pay link, make sure you have a logo uploaded under each of your brands.
Having a logo set in your Settings on your
- Go to your
Brands underFeatures in your Settings - Click into the brand you need to edit
- Click the edit tab
- Scroll down until you see a heading called 'Brand logo'
- Upload your logo
- Save your changes
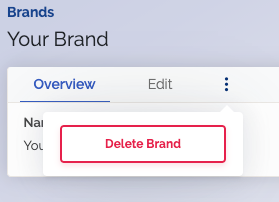
Delete a brand
- Click the three vertical dots next to the edit button
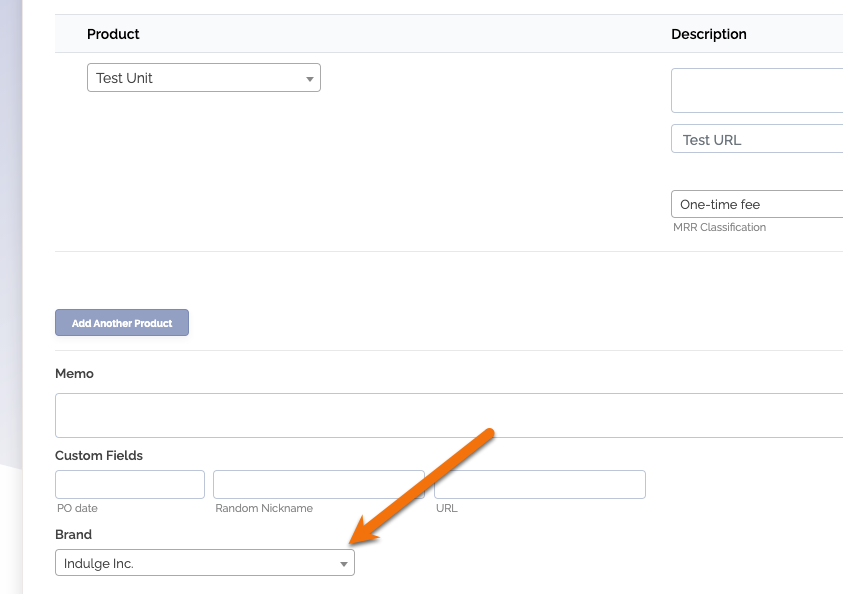
Once you have more than one brand set up in your account, you will be able to select the brand that each new customer you create should be under.
Brands and hosted sign-up pages
You can access each hosted sign-up page via each brand's URL or CNAME.
The domain name you use to access the hosted sign-up page determines a few different things.
- What logo is shown on the page
- What brand the resulting customer is assigned to
- The brand the subscription and any resulting invoices are assigned to
Change a customer's brand
- Go to the customer you want to update
- Select
Edit tab at the top - Scroll through the settings until you find the
Brand dropdown and select the new brand from the dropdown - Click
Save at the bottom
Change an invoices brand
An invoices brand depends on the subscriptions brand it is related to. Also, if you change the customers brand, it will not change the brands already set on the existing subscriptions or invoices.
-
Go to the invoice
-
Click edit invoice under the invoice actions on the right side of the screen
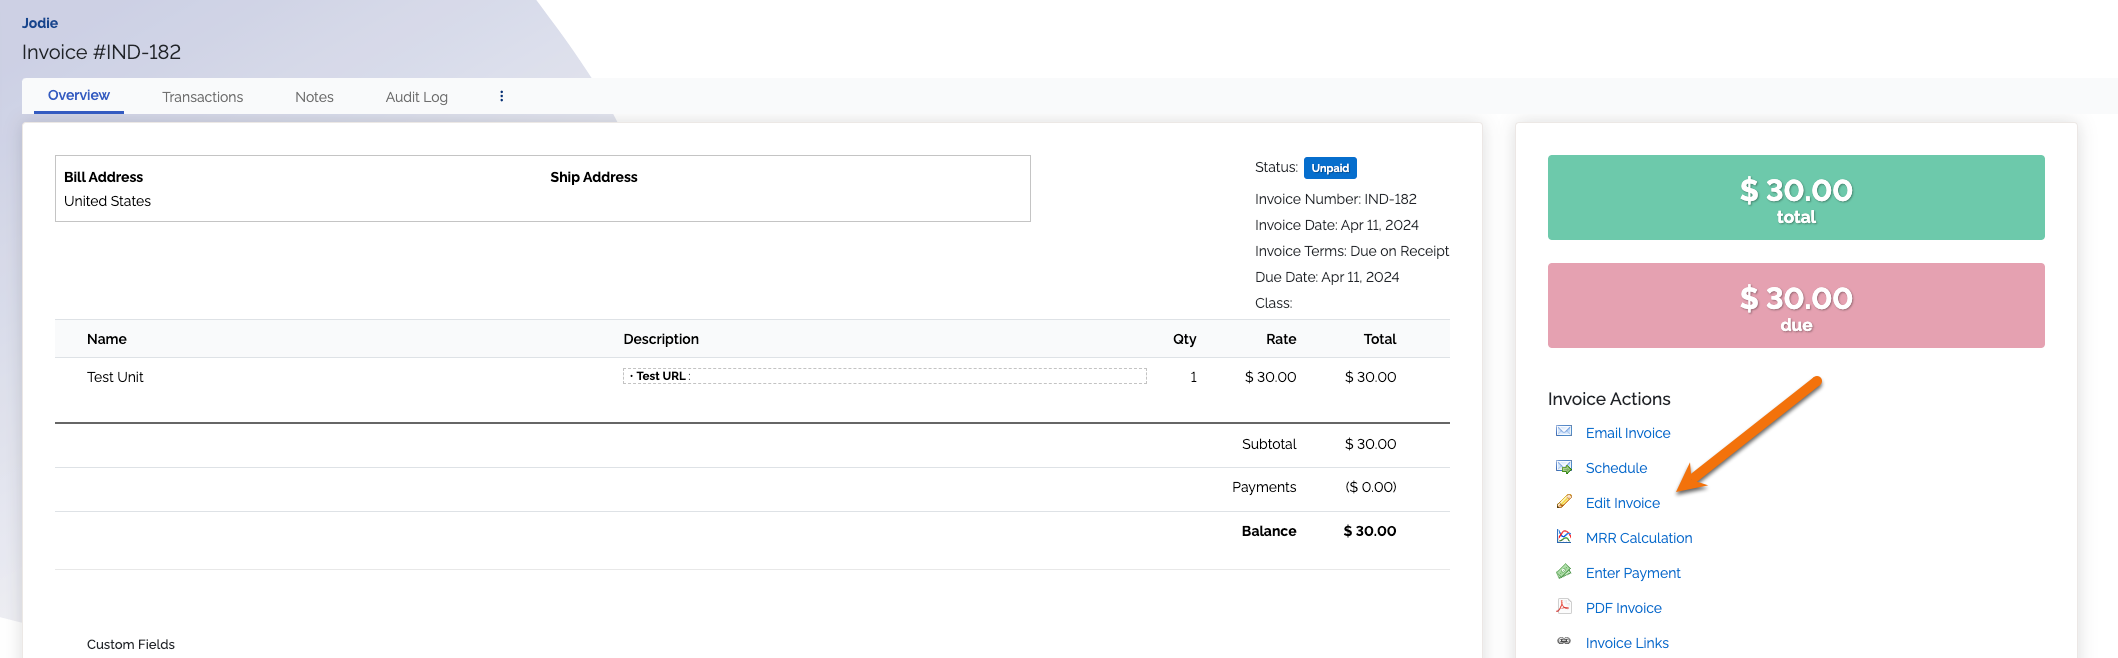
-
Click the blue link that says more advanced options
-
Choose a different brand for the invoice
-
Save your changes
Set up custom domains for each brand
- Navigate to your Settings and find the
Brands add-on - From your list of brands, select the brand you want to assign a URL. On the next page, select the "Edit" tab
- At the bottom of the edit page, there will be a dropdown for you to select the URL that should be associated with this brand
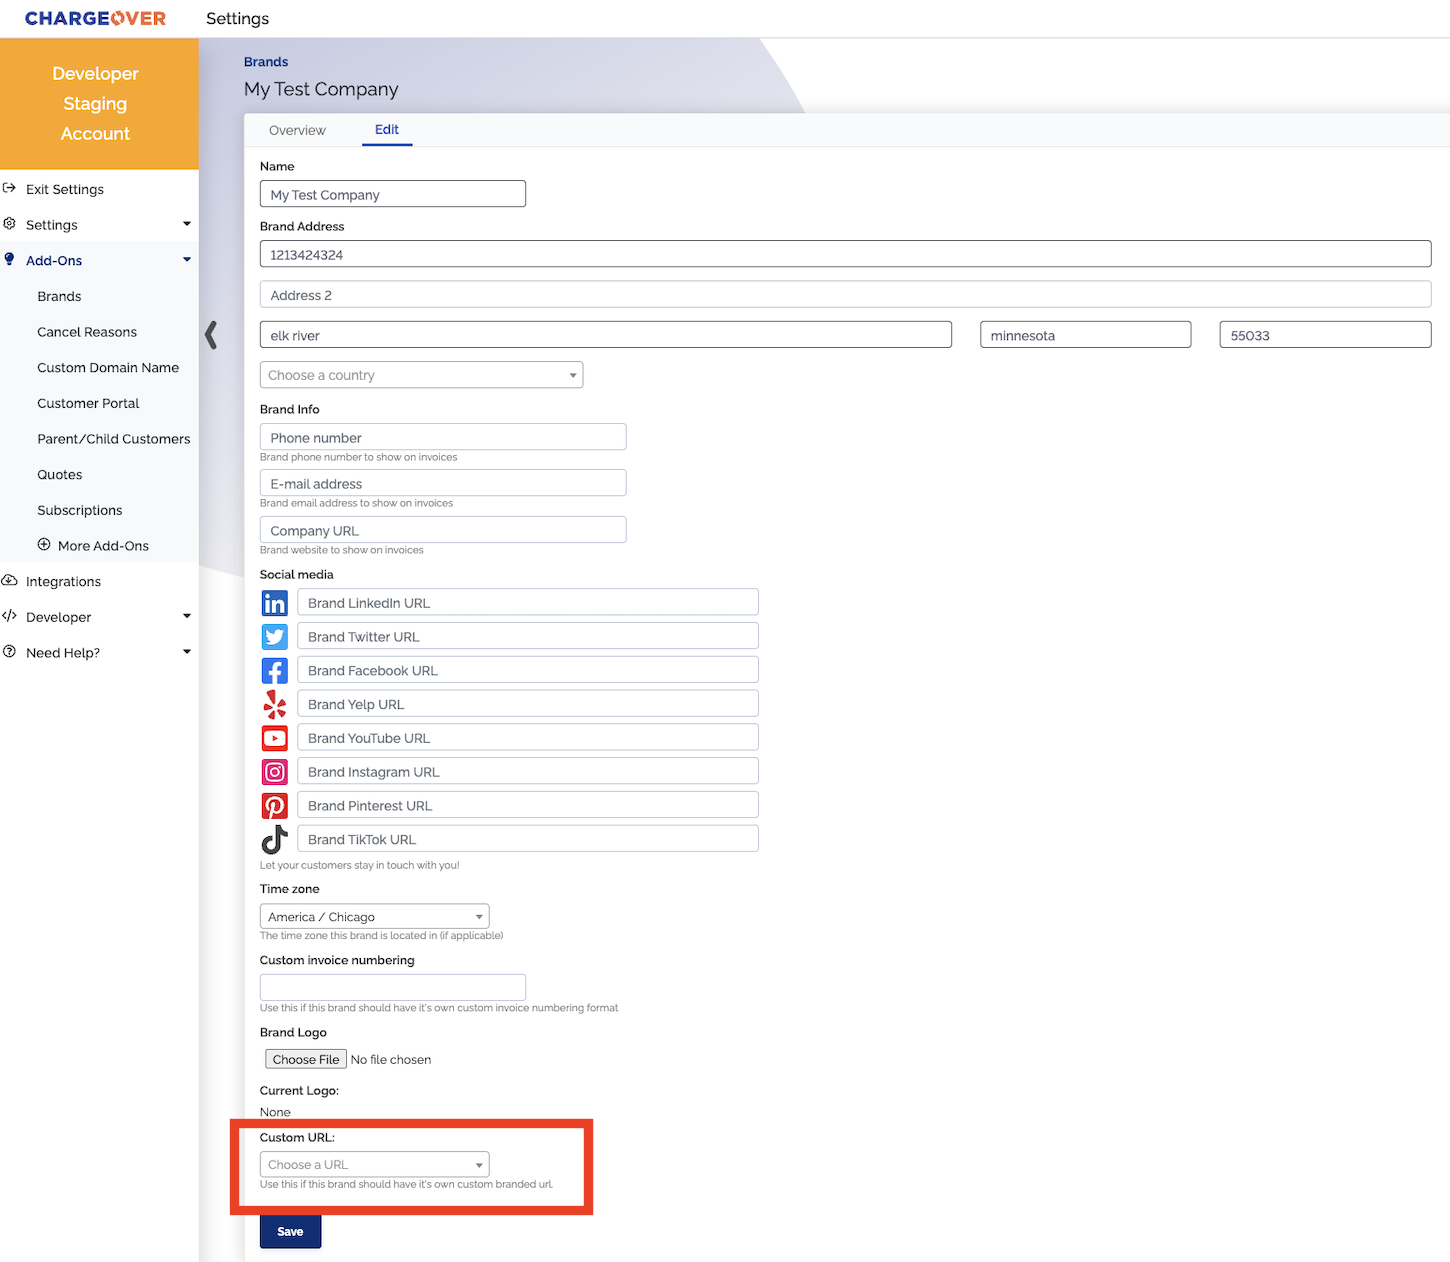
Things to keep in mind
- If you add a second CNAME or custom domain, and do not attach it to a specific brand it just makes the account available at the new URL in addition to the previous URLs
- When you attach a custom URL to a specific brand...
- Each customer's
Update your pay methodlinks will use the domain attached to the brand - Invoice and Quote links will use the domain attached to the invoice's brand
- If you access a hosted page via a specific brand's CNAME, the logo etc. on the hosted page will use the brand corresponding to the domain you accessed it on
- If you access the customer portal via a specific brand's CNAME, the logo etc. on the portal login page will use the brand corresponding to the domain you accessed it on
- Each customer's
Using brands with gateways
If you would like to have certain customers use a certain payment method, or you want to separate your income by brand, you can assign brands to your gateways!
A common usecase example would be if you wanted to charge a large client and make them pay their invoice with a bank account, but have all of your other customers pay with credit cards. This is possible to do if you assign different brands to your customers and gateways.
Steps
- Enable Brands under your available features
- Enable your gateways
- Assign your customers to specific brands. By default when you enable brands, customers will all be assigned the same brand. It is up to you to create more brands and then manually assign those to different customers. Make sure you assign the customer to the same brand you will assign to the gateway you want them to use
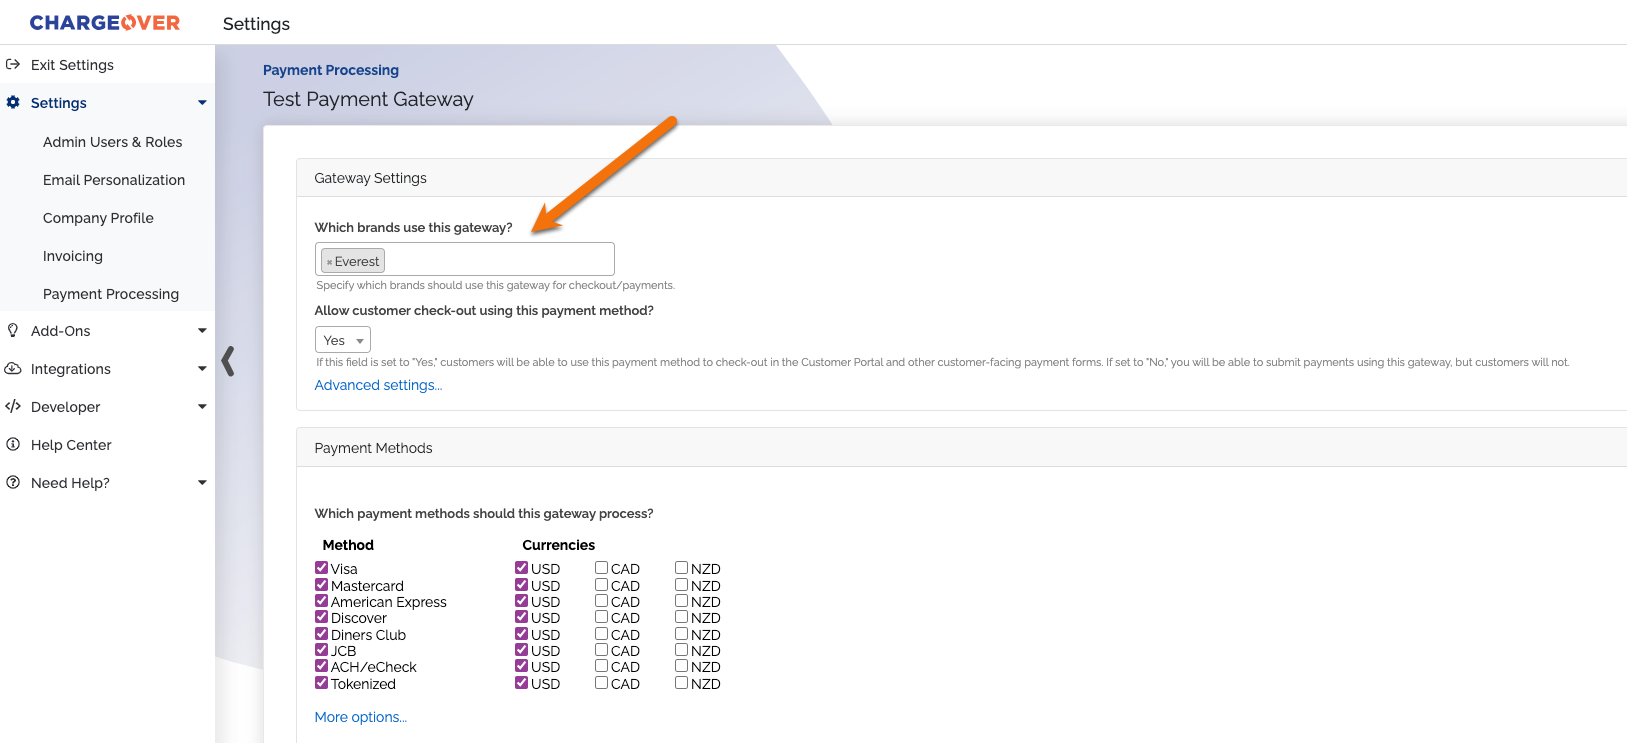
- Go to your payment processing tab in your settings and assign each gateway to a brand
- Save your changes
This is what an assigned brand will look like on a gateway:
How ChargeOver chooses the brand
When a payment is taken, ChargeOver uses the brand from the invoice to determine which payment gateway to use.
If the payment is not applied to any invoices, the brand from the customer is used instead.
Use caution when changing brands for a gateway!
If you click into a gateway and add a brand that is current assigned to a different gateway, the brand will remove itself from the other gateway it was assigned to. Use caution when adjusting assignments of brands to gateways.